Posts mit dem Label neon werden angezeigt. Alle Posts anzeigen

Samstag, 28. Januar 2017

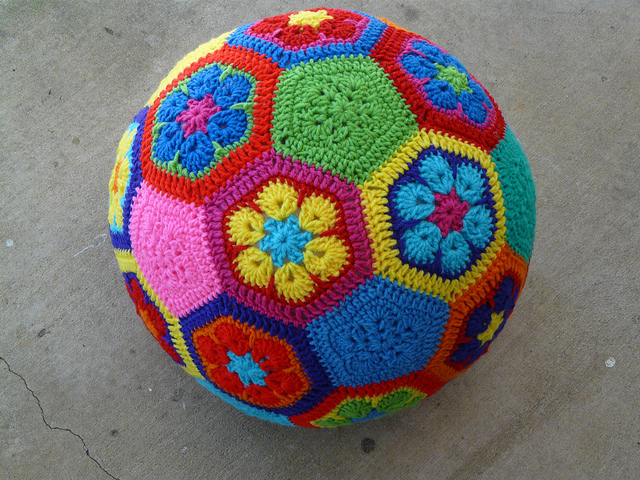
My African Flower Soccer Ball for Michelangelo!

Gwenda is 16 days old now & we were both pretty surprised 
how big this football has become!
We thought it would be average football size
but wow:
Almost as big as the little princess Gwenda!

Dada Neon Crochet Football soccer ball

I always wanted to make such a ball since 
I discovered the pattern by Crochetbug!
Just so pretty!

Click here to find the pattern!
It's so easy, after some hexagons & pentagons
you don't need the pattern anymore!
Just perfect for a fresh Mami like me
with a lack of sleep & a baby brain!
You still get some pieces done half asleep
in between two breastfeeds!


We were invited to Gwenda's first party today:
Our friend Michelangelo has celebrated his first birthday
& I think I really picked the perfect pattern
for his present.
The kids were throwing it,
squashing it,
used it as a pillow
or were just jumping around on it!
Mami & Daddy will have to make another one
for the first birthday of our little princess!

Crochet Baby Ball Dada Neon Crochet

I used Stylecraft Special DK yarns for this ball.
The actual challenge of this project was to create
the pentagons & hexagons in a way
that the border colours are different
while attaching.
I recommend crocheting them together as you go!
I've used the visible join method,
makes quite a nice contrast! ;-)

Crochet Football

I hope you are all doing fine
& I'm sending much love to all
my princesses & princes!

Your friend Dada!

Dienstag, 24. November 2015

My new psychedelic crochet coat!

I haven't blogged in a while,
just so much going on & so I needed a social media break!
I'm working in a shelter for homeless Ladies now
& it's a real touching work experience.

Your own problems are becoming so tiny
compared to the situation of these brave women.
They all had a home once.
Normal family lifes.
Depression, divorce, depts -
many different reasons
can cause homelessness.
Homelessness,
what a sad sad word
for something
that can happen to anyone of us.

Winter is coming,
it's getting cold out there.
There will be little notes
in the newspapers again
about homeless persons frozen to death.
And there's little we can do against it.

But there's something important
we all can give:
Respect, some warm words & a smile. 
Some people give a little
bit of money to a homeless person
but only a few really talk to them.
Look them in the eyes.
Invite them for having some food
or a hot drink in a warm place.
Treat them like a human being.
Let's make a difference!

♥♥♥

I don't have much time
& my crochet life is producing less stitches
these weeks...

 ...and I still have to spin some kilos of the sheep wool
I have cleaned months ago
but I'm on my way! ;-)

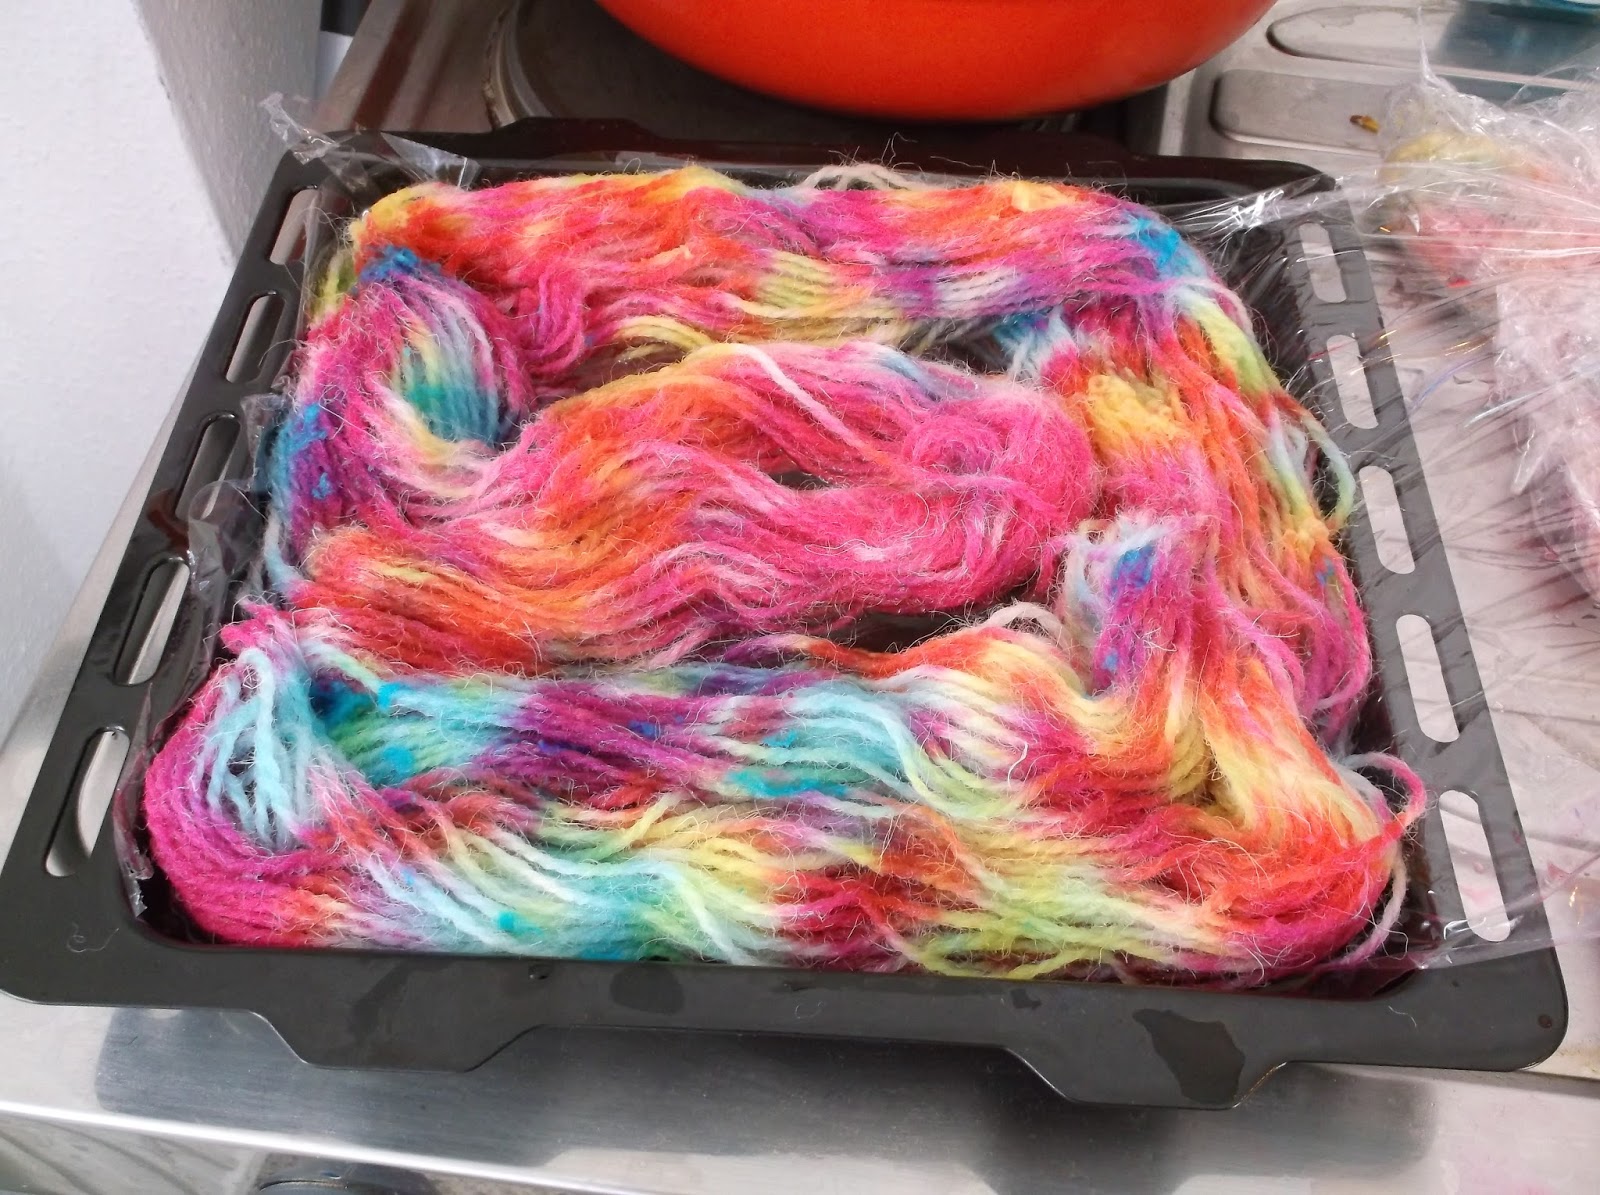
I've already dyed a kilo or so,
so exciting to create your own personal yarn!


I'm experimenting with crepe paper as a dye
& I'm really in awe about this
cheap, easy & effective option!
Crepe paper is fantastic,
I even dyed my flatmate Marie's hair green! :-)
I will blog about this method soon!

My WIPs are growing slowly
but today I managed to complete
this colourful coat!


Actually I wanted to crochet
this beautiful Lion Brand pattern:

While crocheting some squares for it 
I thought it would become too huge for me...
I've already crocheted 27 of the 79 motifs 
of this pattern to this point -
& just used them to turn them
into this funny neon coat!


I really love it,
so much fun to grow
something without any plan
how it will look in the end. 
Just some stripes here,
some granny stitches there
& now I have a new
unique coat!
Sooo happy!
:-)

Haha, some more photos! :-)
My beloved flatmates
Fabi & Marie took so many
good & funny pictures outside in the garden before
that it's hard to choose the best shots!

...crazy moves!


I'm a psychedelic princess!!!


Neon!
Just my favourite "colour"! :-)


What else to write?
I FINALLY MANAGED TO QUIT SMOKING!
For the first time without suffering
& being nervous all the time...

My method was quite easy:
I just said:
"I'm a non-smoker now!"
& got rid of my smoking stuff.

Crocheting is the best addiction anyway! :-)


Sending much love to my princesses
& princes,

your friend
Dada
♥♥♥

Samstag, 22. August 2015

A yarnpainting - with buttons!

My flatmate & good friend 
has celebrated his birthday yesterday!
Actually I wanted to create a crochet-only-painting
as a present but time was working against me
(as always)!

Instead of crocheting
I used a less time consuming technique
to fill the missing parts with colours:

Buttons!

Crochet painting with button art - Freeform Crochet

I have thousands of buttons,
a few hundreds less
don't make a real difference! ;-)

Crochet art by Dada Neon

A pretty fast technique -
I just put some glue on the canvas
& pressed the buttons on it!

Completed it just in time, yay! :-)
I see the head of a psychedelic bird in this yarnpainting
by the way!
Funny how things just appear while creating dadaistic art!

Crochet Painting with buttons

Sending much love:
Dada
♥♥♥

Sonntag, 19. Juli 2015

Polymer Crochet Hooks!

Alex & me had so much
fun making & baking
our own personal hook sets!

Crochet hooks with a polymer clay handle
are quite often to find on etsy
- for ONE hook you sometimes pay more than 20 Euro!
Some hooks are really worth it
because real polymer clay artists
have made a real outstanding hook.
But even you have never worked
with polymer clay:
You can create your own art hooks yourself
- even ergonomic hooks
which often cost so much money!

This is a real low budget project,
you will need:


- Aluminium foil (for the ergonomic hooks)
- Polymer Clay (We have used the brand "Fimo")
- Nail art polymer clay sticks
- REAL cheap hook sets
(Search for "colourful crochet hook set"
on amazon, ours have only
cost 2 Euro for 12 hooks!)
- an oven


I've bought these four "Fimo" colours,
blue & purple
have even glitter within!
("Fimo effects")


By accident I've seen
these cheap nail art sticks
on amazon...
You get them in sets of 50 or 100 sticks
for a little money.
And they last for thousands of
decorated crochet hooks! :-)
(Just search for "Nail art polymer clay sticks")

First a look at the pretty hook set
Alex has made!
For this hooks you
only need polymer clay,
a hook set
& an oven!


For his handles he used a brilliant technique
by Donna Wolfe from Naztazia!
It's a real good video
if you wanna go for this technique as well!


He has used more than 2 colours
as you can see here:

 
After he wrapped & rolled this
multicoloured "sausage"
he cut it into little pieces
& attached these tiny bits
to his hook:


Then he just rolled it on an even surface...
& then they came into the oven!
(Fimo needs 130 °C for 20 minutes)


And look how happy he is
about his fabulous selfmade hook set! :-)


I was experimenting quite a lot,
none of my hooks looks the same, yay!


I will show you close ups now
& explain how I made my hooks!
Alex was so kind to help me:
The Polymer Clay Nail Art set
has included a cutter
& so he cut REAL thin decorations
for my hook handles!


***

This was my first hook:


I'm crocheting most of my projects
with a 4,5 mm hook
so it needed to be an thick ergonomic one!


To save polymer clay
I wrapped aluminium foil
around the hook.
I've also wrapped together
polymer clay in purple,
neon green & neon orange...
& I simply wrapped it around
the foil & pressed the fimo
with my fingers...


And because I love flowers
I added some in the end!
I just pressed them onto the fimo!

***

The next ones were really simple to do:


Basically I just wrapped the hooks
in fimo (quite thick!),
rolled them
& have pressed the tiny flowers
& smileys
on the fimo with a tweezer!
That's it! ;-)

***

The next one was this flower hook:


After I've covered this hook in fimo
& rolled it to give it a regular shape
I've put little fimo balls on it:


And then I just rolled it
with my hands
on a flat surface again!
There are prettier flowers
on this planet but
for an experiment they
look pretty nice! :-)

***

I really love how this ergonomic hook
feels while crocheting
& I think I will make more
of these!


I simply formed a foil ball
with my hands
and wrapped it with fimo.
Roll it in your hands
& take sharp scissors...


...you can just stick the balls
on your hook now!

In the end I formed a spike with
aluminium foil
on the end of the hook
& kneaded fimo around...


***


 Loads of psychedelic fried eggs!
I don't have progress pics
but I just covered the hook with purple,
rolled it until the shape was perfect,
added little balls of neon green,
rolled it again
& added even tinier orange balls
to the center of the green spots.
Roll it again & have fun!

***
The hook on the left was covered
by Alex for me!
(I was just so much slower than him, haha!)
The other three are easy to create...


I just formed "worms" of fimo with my hands,
wrapped them around
& rolled the hook with my hands!


***

If you cover the hook sizes
with polymer clay don't forget
to add the size
with a needle before baking!
(Or like Alex:
Write the sizes on the hooks
after baking with
a permanent marker!)

All these hooks were baked in the oven
at 130 °C for 20 minutes
but check the details
on the package of your polymer clay!

My friend Lisbeth has also made
polymer clay hooks
a while ago & has made these pretty
personal hooks!
She also added the hook sizes
with a needle!


It's great to inspire each other,
when you make a personal set
of hooks now as well
send me a photo on Facebook!
I will just add your work to this blogpost here! ;-)


I loved playing around with fimo,
so many possibilities!
Just experiment with your fantasy
& find out funny new techniques! ;-)

Sending love & greets:
Dada (or Julia)

Donnerstag, 16. Juli 2015

My crazy Pineapple Shawl!

This Pinapple Shawl was such a fun project!
And I got rid of loads of scrap yarn!


I've started it with a pattern
I sadly can't recommend here.
In the second row I was struggling
because the written pattern didn't make sense
at some point.
I looked up this pattern on Ravelry
& many crocheters have suggested different edits -
the designer has never replied
& as the corrections haven't been made
I googled for a pineapple shawl chart.

With some little changes I followed
I highly recommend using a chart for pinapple projects
- so much easier to follow!


As you can see my shawl has become pretty colourful!
I just used scrap yarn -
whenever a yarn came to it's end
I just attached another colour with a knot!
I tried to change the yarn colour
whenever there were a few
dc stitches next to each other.
You can perfectly hide a knot
& also the yarn ends
if you just crochet the followings dcs
above it!

Some yarn ends couldn't be hidden this way
but my friend Silviane Radtke
has an amazing technique
to avoid weaving them in:
Just add beads to yarn strings!


Hard to see in the beads in this colourful mess
so here is another photo:


My naked Nana Venus
wearing my crazy shawl in progress!


And she has met Luna from the first floor!
Nanas LOVE doggies!


In the end I just crocheted granny square stitches
all around my triangle scarf.
And here is the result:


I REALLY love my new shawl!
And also this Lady looks pretty cool wearing it:


And of course we can also wear it as a skirt!


This world needs more colours
& if you will also create such a funky scarf
please show me photos on Facebook!