Posts mit dem Label free pattern werden angezeigt. Alle Posts anzeigen

Donnerstag, 16. Juli 2015

My crazy Pineapple Shawl!

This Pinapple Shawl was such a fun project!
And I got rid of loads of scrap yarn!


I've started it with a pattern
I sadly can't recommend here.
In the second row I was struggling
because the written pattern didn't make sense
at some point.
I looked up this pattern on Ravelry
& many crocheters have suggested different edits -
the designer has never replied
& as the corrections haven't been made
I googled for a pineapple shawl chart.

With some little changes I followed
I highly recommend using a chart for pinapple projects
- so much easier to follow!


As you can see my shawl has become pretty colourful!
I just used scrap yarn -
whenever a yarn came to it's end
I just attached another colour with a knot!
I tried to change the yarn colour
whenever there were a few
dc stitches next to each other.
You can perfectly hide a knot
& also the yarn ends
if you just crochet the followings dcs
above it!

Some yarn ends couldn't be hidden this way
but my friend Silviane Radtke
has an amazing technique
to avoid weaving them in:
Just add beads to yarn strings!


Hard to see in the beads in this colourful mess
so here is another photo:


My naked Nana Venus
wearing my crazy shawl in progress!


And she has met Luna from the first floor!
Nanas LOVE doggies!


In the end I just crocheted granny square stitches
all around my triangle scarf.
And here is the result:


I REALLY love my new shawl!
And also this Lady looks pretty cool wearing it:


And of course we can also wear it as a skirt!


This world needs more colours
& if you will also create such a funky scarf
please show me photos on Facebook!

Dienstag, 14. Juli 2015

Flower Power Blanket - Free Pattern

 I always adored this crochet blanket
made by my mother Ottilie around 30 years ago...


A lot of people admired it as well
when I've posted a pic on my Facebook page.
I could only lead interested crocheters
 republished by the popular magazine "Brigitte"...
I thought I could just ask for the permission
to make an English translation
for my crocheting friends
who have less german skills than me...
And yes!!!
The magazine "Brigitte" was so lovely
& gave me their friendly permission! :-)

I have to add a photo & a little story:
A few hours after I've published this blogpost
Ute Rehner - a friend of my page -
commented on facebook.

She was sitting in a train
while she has seen my post
& she knew straight away in which year
this pattern was originally published:
1974

This flower blanket
is actually on her to-crochet-list
since 41 years,
she was so lovely to send me a photo
of her precious original pattern:


Thank you so much, Ute!
And of course I will send your regards
to the editorial department of "Brigitte" on this way!
♥♥♥

You need for a blanket measuring 160 x 190 cm:

1500 g of colourful yarn rests
250 g yarn in olive green for the border
(or different colours as my mother did)
a 2,5 mm hook
(of course you can also use a bigger hook size
for a blanket with less but bigger flowers
- I guess my mom has used a 3,5 or a 4mm hook)

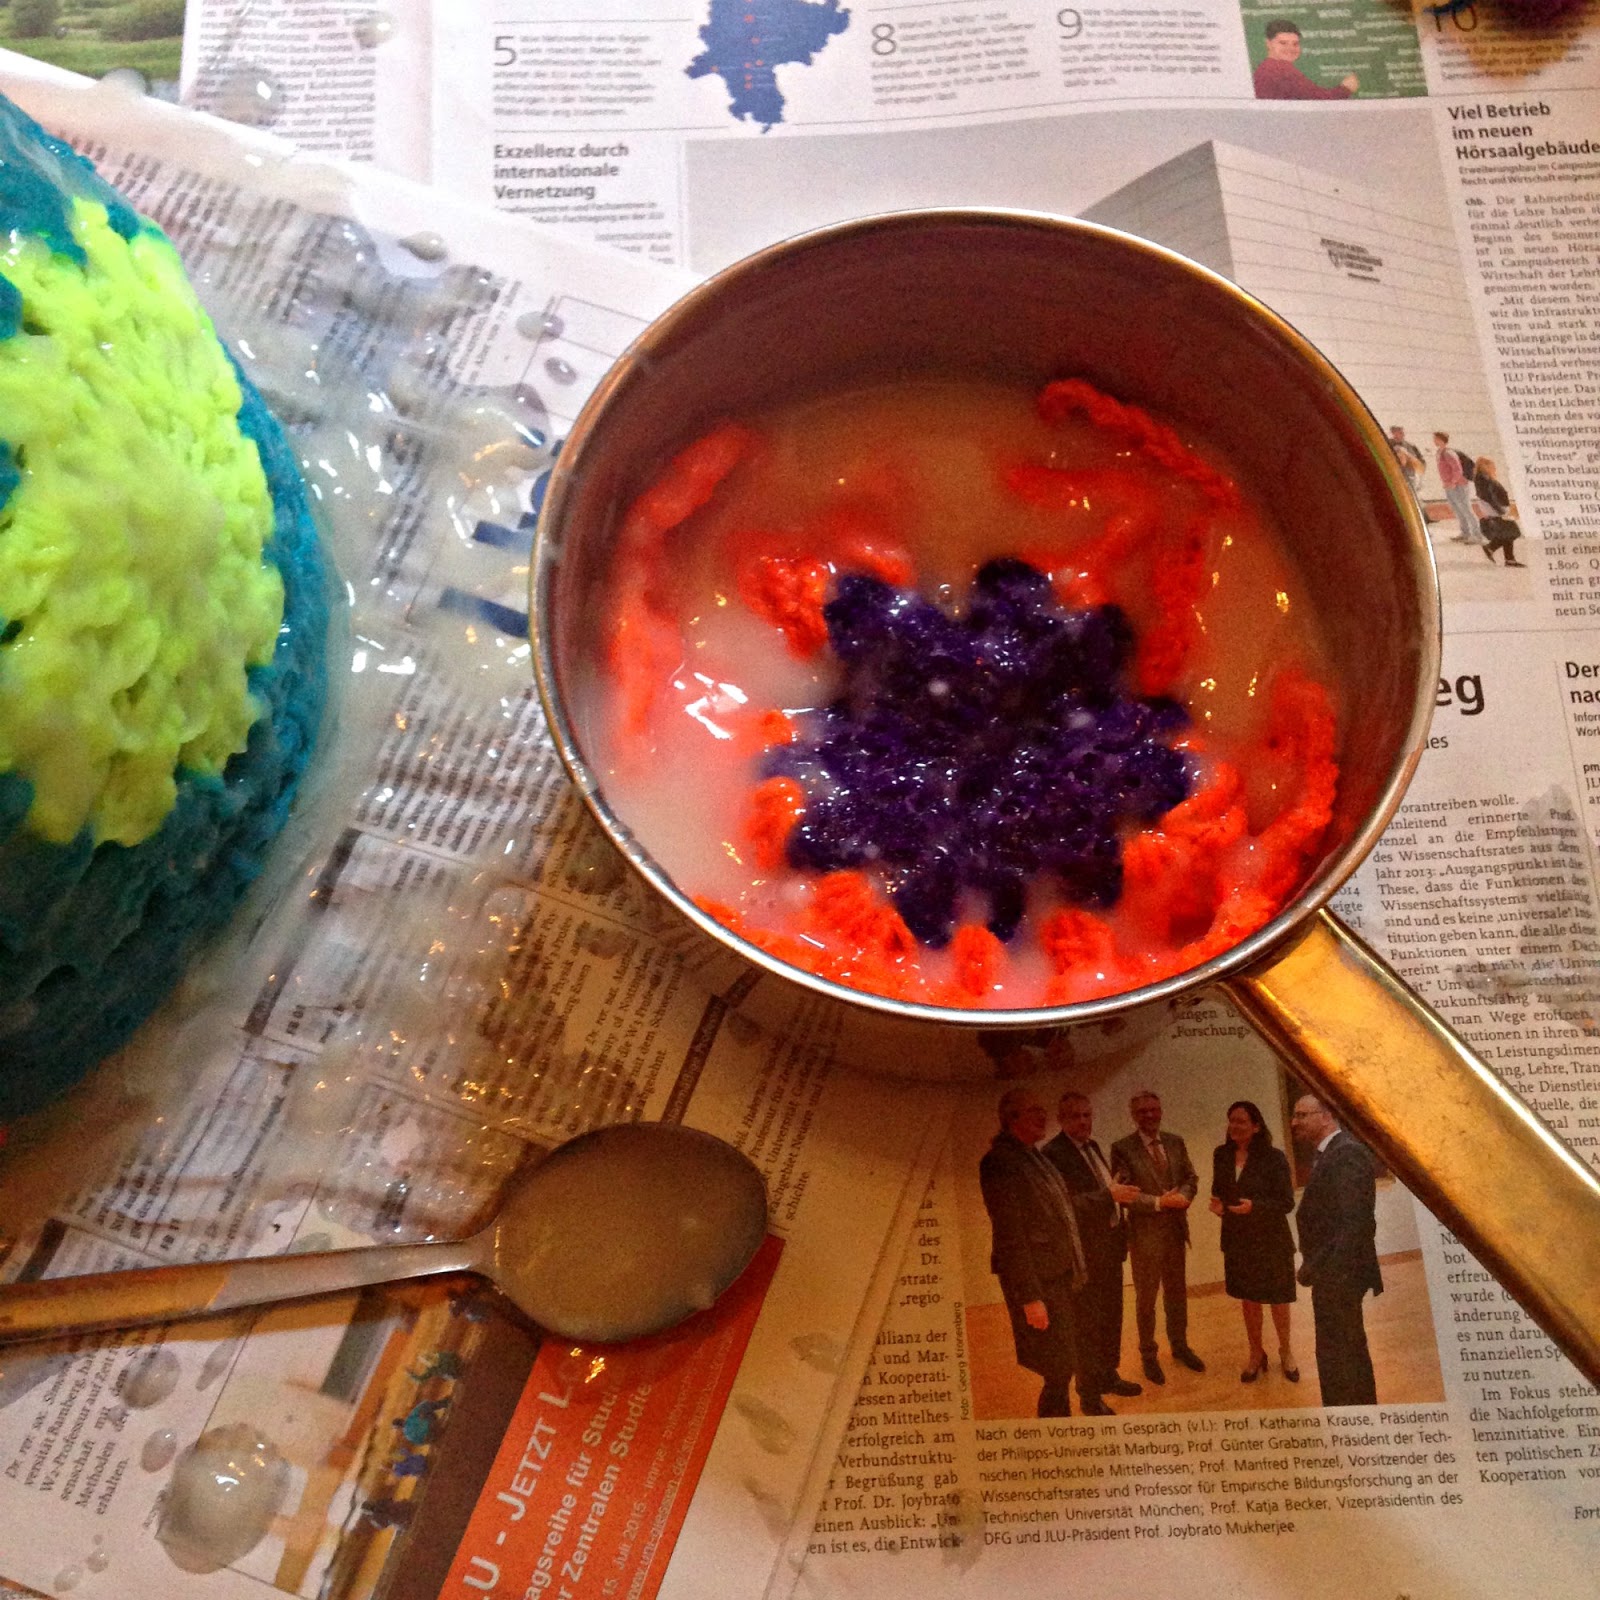
You work the first rosette this way:

Start with 6 ch, form a ring with a slip stitch


1. round: 
work 12 single stitches in the ring
(crochet away the yarn end from the beginning)
end with a slip stitch


2. round: 
chain 3 (counts as first dc)
dc in the same stitch
2 dc in every stitch around
close row with a slip stitch in 3rd chain from beginning
(you should have 24 dc now!)


3. round:
Change your colour!
Now we will work
TWO stitches of the following stitch combination
in every SECOND stitch:
*3 treble, 1 dc, 1 single stitch, 1 dc*
(repeat 5 times
& close this round with a slip stitch
in 4th chain of beginning)

[note: The first treble = 4 ch;
It may be confusing to work
2 stitches in every second stitch
- basically you work:
*1 treble / 2 treble in the next stitch /
1 dc / a single stitch & a dc in the next stitch* x5]


What a pretty flower!
But how to attach the next flower?

Work the second flower
until the last round
as the first one...


Then we work the first 3 trebles of round 3
& work a slip stitch between
the 3rd treble & dc
as shown in the picture


Now work 1dc / a stitch & a dc
in your second flower
...and again:
a slip stitch between dc & treble
of your first flower
- then go on with the 3rd round as usual!


The 3rd flower will be attached this way
on the first flowers - two times...


...and so on...


...when you have 29 rows
containing 27 flowers each you are almost done!

This is how you work for the border
in the original pattern:
(In the german pattern is only a rough description)

1. One row with single stitches all around.
(In the pattern with olive green
- my mom made a multicoloured border
but just use your own style!)

2. This is challenging!
Work dcs & trebles in the triangles
of your border to fill the gaps!
The pattern recommends
to regulary skip some stitches
otherwise it will get wavy!
- Trust your feeling & your skills!

[My mother Otti did the border another way:
She just added colourful rows
of single stitches
which gives a nice wavy border]


3. As many rows of dc stitches
as you like!

Yay! Congrats!!!
You have a wonderful Flower Power Blanket now!


My friend MariaElena has already started
her own Flower Power Blanket
(or Otti-Blanket as we use to call it!)
& has shared progress pictures with me:


So clever to create all the circles
in the beginning! ;-)

And another friend of my page has already started
a Flower Power Blanket!
Here you can see a progress photo
of Lee Schlomm's growing prettiness! :-)


I have only translated the pattern
but I love it badly
so PLEASE show me pictures
on my Facebook page!
(...and if you have questions
be free to contact me there as well!)

And of course a huge THANK YOU
to the german magazine "Brigitte"
for the permission
to translate it!

Hugs & love:
Dada

Donnerstag, 9. Juli 2015

My Wade's Blanket CAL

I'm really happy about my new blanket & so it deserves a little blog post of course!
This CAL was hosted by Zelna (Zooty Owl) & Andrea (Kokopelli Design)
& it was great fun to crochet it!


I LOVE CALs!
It's just such a difference to work on a project
while other crocheters are growing the same patterns.
You have the opportunity to see
photos of other CAL members
& I guess everyone else was unpatiently waiting
for the next part being published! ;-)

It was a special pleasure that my friend Lisbeth
has joined this CAL as well!
With her friendly permission
I can also show you a photo here:


Isn't it beautiful?!

Of course you can still find all patterns online
so you can still grow your own "Wade's Blanket CAL".

 Here you find Zelna's post with links to all parts 
& this link will guide you to Andrea's tutorials!

So this was my journey:
(I have added an additional row to every square
so my blanket is a little bit bigger!)

Part 1:


Part 2:


Part 3:


Part 4:


Part 5:


Don't ask me for the heart pattern!
I'm a freeform crocheter & so I've just grown it!
I've basically just sewed the heart on a huge neon yellow granny square!

Part 6:


Part 7:


...and part 8, the border:


Taking good photographs of bright neon colours
is an impossible thing without a proper camera
but I can't change my favourite "colour", haha!

If someone is interested in the yarn I've used:

Only Schachenmayr Bravo,
the Lady in the yarn store always
says: "The Bravo girl is coming!" :-)

I'm really busy these days -
I have to write an essay for my philosophy studies
& the book has 729 pages, haha!

I hope you have more crochet time,
sending hugs:

Dada (or Julia)

Sonntag, 21. Juni 2015

Granny Square Bowl

Last year a pretty awesome tutorial went viral -
of course I've added it to my virtual to-crochet-list
- my Dada Neon Crochet timeline on Facebook!

I absolutely fell in love with this stunning
With her kind permission I can show you a photo of her work here: 

by Marrose - Colourful Crochet & Crafts (http://marrose-ccc.com/tutorials-2/yarn-ends-bowl/)

As you know I'm always working on too many projects
& so it took quite a while
until this wonderful piece of scrap yarn art
came into my mind again!

While making the paste for the project
(Just with water, flour & sugar!)
I was thinking:
Why not trying it with granny squares...
That's the result & I'm pretty pleased!


Sooo...and this is what I did:

First of all:
Making the paste!
Marianne of Marrose - Colorful Crochet & Crafts
has used this recipe of Carolyn's Homework (Click!)
& so I followed the instructions...


Then I've covered a salad bowl with plastic wrap...


I've soaked the pieces with the paste
& and then I covered the bowl with Granny Squares...
(The 3 Squares are made with the pattern
Circle In a Square Granny by Zooty Owl
the middle square was a leftover of a project,
I can't remember the pattern name
but every circle pattern should perfectly work)


Sooo much paste left!
So I soaked another single Granny Square with the paste...


...and arranged it on another
plastic wrapped bowl...


It took 4-5 days to dry
so you have to be patient!
(We didn't have much sunshine,
if you have some sunny days
let them dry in the sun!)

...so pretty!!!


...also nice as a helmet, haha!


If you make YOUR version
please post it to Dada Neon Crochet!
And if you are inspired to make
Marianne's awesome Yarn Ends Bowl
show her your work on Marrose - Colorful Crochet & Crafts!
I will definitely need one, too! ;-)

Stay awesome! (And creative!)

Dada